Pages

Showing posts with label bernina. Show all posts

Monday, April 20, 2020

Jeepers! And Celestial Lights

 Can you believe it! look at all that snow...on April 17!
 We had a little bit on the 15th, but we had close to 3 inches on the grass and in the trees on the 17th.  Well, I haven't shared this quilt top finish before.
 All those different stars were embroidered by my Mom! They are really gorgeous. I had to work out how big I could trim them down to, each one was slightly positioned differently.
 So they ended up being 9" so I worked out how to make the connecting chain blocks to match. Ugghhh! math! Then I thought they needed a little something, so I added the yellow corner triangles.
Anyways, it came out great! SO I settled on a layout, and miracle of miracles, it worked out!
 Here's the center panel! I'm in love!
 SO I pieced a few more chain blocks to get to a more usable size and added the solid white blocks. It looks great! Like someone knew what they were doing! HA!
 I added the narrow gold border than the wide navy borders. They are a little scrappy-I used the same fabrics as in the chain blocks.
 I love how this top came out!
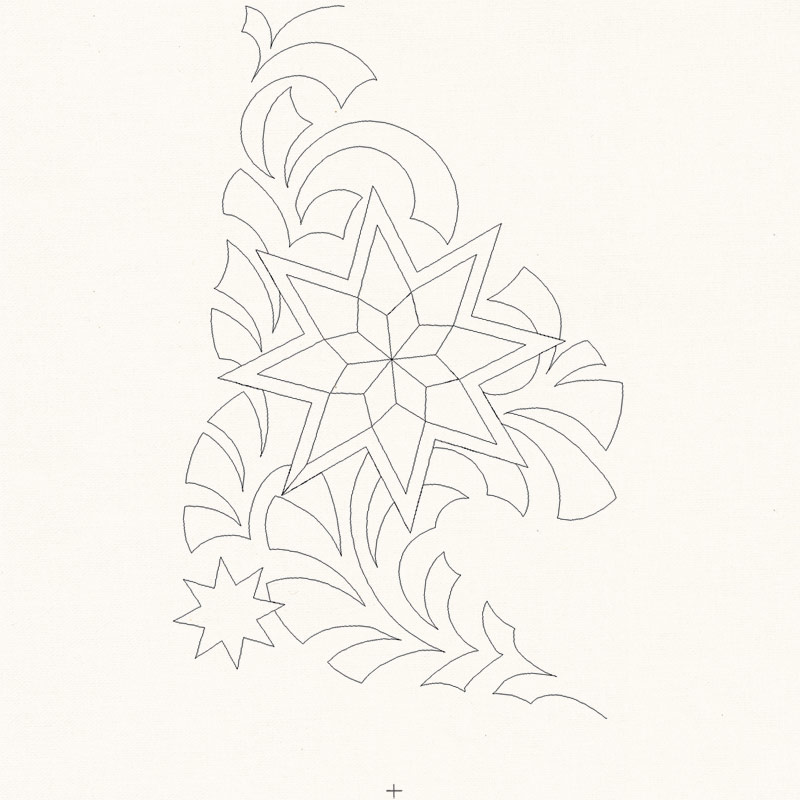
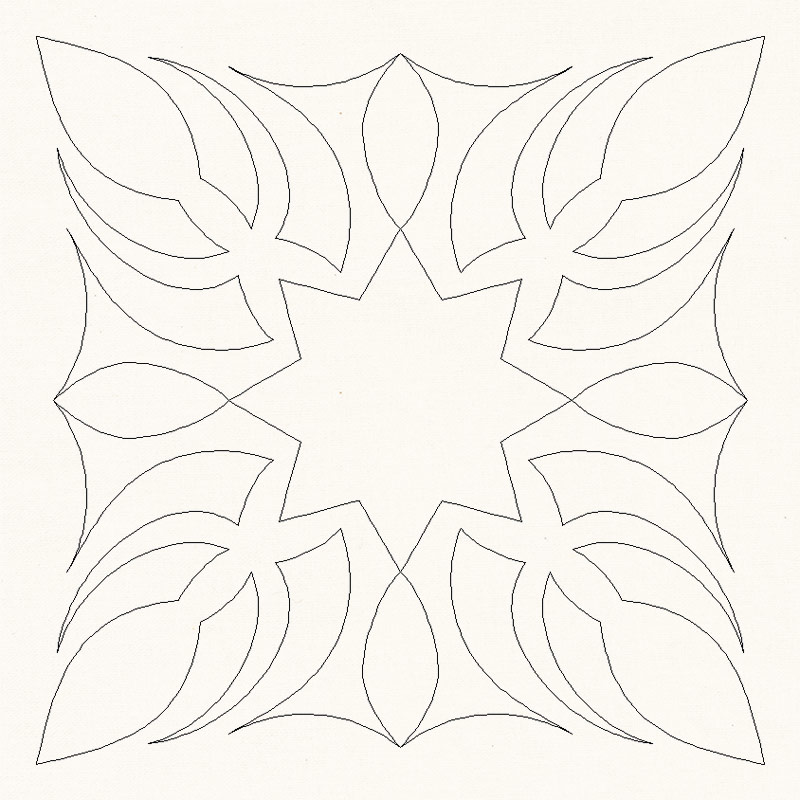
 So, I'm planning to get this up to my Mom, so we can use the Celestial Lights embroidery designs to quilt in the white spaces. The design card has a ton of different ideas on it so I think we can work that out, once we can get together, that is!
 
Like this one!I think I'll see about putting this one on the side or corner spaces.
Or this one would fit in the squares I bet!

 The top is about 66'X76" so it'll be a good lap size couch quilt! Anyways, I hope we all come through this Corona Virus stuff in good shape and then I can get together with the family and get this quilt done!
It will wait until it's safe for all of us to visit though!

Sunday, November 19, 2017

So, awhile back, I signed up for this quilt along. A block was posted every week, and at the end you'd have a big quilt. See, like this block from week 3-I think.
 Moda Bakeshop Oda May's School of Sewing
The quilt a long was also a kind of a mystery too. They didin't give a picture of the actual quilt, just  a black & white drawing.  
SO, I had a hard time getting it together. I discovered that I like things where you can cut out all the parts and know you have enough fabric. I decided to use scraps from my blue and green bins and the gold background fabric I had in stash.

 And it went OK, I liked making the blocks, but the drawing didn't really show all the borders and additional sashing that needed to be added here and there.
And I did get it all together. I had zero gold fabric left so I had to make do. I always imagine that's what folks did back in the day when they were making quilts. They sure didn't go buy more fabric-and I had purchased that gold on vacation, and couldn't find anymore around.

 Mom ended up getting my backing fabric for me-thanks Mom! So I was quilting it on Bernie, and as I was struggling to move the quilt, I couldn't see what I was hung up on.....
 
Ringo was laying on the quilt as I was free motion quilting it!
It is a big quilt, so I was really working to move it around on Bernie, and Ringo was not helping in the least!
 SO I got it all done and used the leftover backing fabric for the binding too. It looks good, I think!
 See it's actually bigger than my full size bed! SO I'm glad to have this project done.
I didn the quilting a little different, I just made squiggly lines on all the blocks, the quilt was so big that it was the only was I could see to do it. It is far from perfect, but it will be warm and cozy!


Monday, April 3, 2017

Weekend With Bernina

 
So Bernie the Bernina was having issues so I took her to my Favorite Bernina Technician, Rex, over at the Marshalltown Sewing Center. The best part about going to see Rex is there is usually a motley crew of guitar players there....because in addition to sewing machines at the Sewing Center, Rex sells guitars. A lot of guitars.
I'm not sure if he sells more guitars or sewing machines, but it's always fun to go see what's going on there...and this time he has free popcorn! SO then Mom and I made our way over to Ankeny to see about acquiring some fabric. Sadly they had indeed closed the Hancock's there too.  But we had lunch and still managed to do a little shopping. Bernie is all fixed now so I can finish this baby quilt.
 Doesn't it look good! All those cute pink kiss X's.

 ANd Disney princesses on the back-the Mommy to be is a fan.
 I did a swirly circle kind of design with Bernie.....
 and loopy de loops around the border. All washed and ready to go!
And the best part, after dropping Mom off I stopped at the Maid Rite to have a treat!  

Friday, July 1, 2016

Quick Door Project

SO you might remember I have a friend who lives in an assisted living building. The folks there like to decorate the door to their apartments with a little seasonal cheer.
Since the 4th of July holiday is coming up I thought I'd whip up a seasonal little door banner for her. 
Thanks to my Mom and Bernie the Bernina, I chose a little patriotic birdhouse design. I made it 200% size...technical term there...and then let Bernie do the work.

There! That came out pretty cute didn't it! I put some scraps of blue fabric around it...Oh and I left the tear away stabilizer on the embroidery part. I figured since it won't be washed that would add a little bit of stiffness and keep it from drooping. It finished at about 10" X14" just right for the door!
 
I also like this design...very cute, that political hat birdhouse for all the  birdbrains right!

Thursday, November 19, 2015

Bernie & Me

I have a new sewing pal. Bernie. She's pretty cool-thanks Mom!
Bernie embroiders.....

 I have a lot to learn about Bernie.
 I already know that embroidery takes a lot of thread.
 But Bernie sure does work slick!

 Well, this was a surprise. I didn't realize that Bernie was going to cover up those cute little lines.....
But it does look nice!
Bernie also has a ton of feet!
 I am excited to try these little guys out. They both are for applying binding. I googled first to see what folks did to use these little wonders.
 Seems like for thicker (like quilts)  folks are recommending this foot.
 Obviously, there's a learning curve here......
 And those corners kind of make me wonder....
 But it sur is nice to sew both sides at once!!
 So now to try out the other foot. I thought I was out of luck because it needs an adapter..but the plastic foot had one! YAY! Thanks Mom!
 The ol' switcheroo, and away we go!
 Google folks say that this foot is only good for light weight fabrics, so here's a scrap of flannel to test things out on.....You really gotta keep the fabric in against the edge along with the bias tape...kind of a juggling act!
 It looks pretty good....
 but there is a learning curve with it.
SO another test with some of the weird vinyl-ish fabric. Not bad!

 Here's my finished table runner-look close--well not too close-but I mirror imaged the leaves! Cool, right?! Bernie did a great job!
I used the plastic binder foot to apply the binding-it was not bad! There must be an easier way to end the whole thing though. Google to the rescue! Bernie will do the work!