Pages

Showing posts with label potholders. Show all posts

Wednesday, December 26, 2018

Gifted Projects

 I used some Frond fabric that I've had on the stash shelf for a few years. I love the fabric, but couldn't figure out a project.  It's really unique fabric and I think it was pretty early in the Frond fabrics line. SO I was killing some time with Jenny from the Missouri Star Quilt Co, and saw her 4 patch lattice tutorial.
 I thought it would work well with the neutral fat quarters I had and the Frond fabrics.
 Keep it simple, right? Let the fabric do the talking!
 I love how this came out. I wasn't sure I could get it done in time for gifting-and which gift exchange would be the best one for it to go to either.
 But it washed up very nicely, I almost don't want to give it away.....
 But I boxed it up and wrapped it so I wouldn't be tempted. I don't need any more throw size quilts, right?.....maybe!
 Then DD brought me a little project for one of her associates. She purchased scrub hats for her surgical team, and hoped to have them embroidered with" Pediatric Urology Stream Team" (urine humor-hahahaha) but ran into trouble finding a place to do it. I'll try.


I did a bunch of practice runs to figure out the placement of the letters. There's only so much room to use.


And the finished hats came out pretty good. I only messed up one.....then had to scramble to town and locate a replacement! I think in the future I'll only do one offs. One is easy, but 5 is not so easy. And none of them are exactly the same.

 Hopefully no one will notice!

 Then I wanted to make some of these potholders from the pattern I got over in Ankeny last Summer.
They came out really cute and sew up pretty fast. Mom ended up getting these in the gift exchange at Aunt Francie's on Christmas Eve. I think that's all the gifts I did this year.
Now I have an idea about reusable shopping bags!

Saturday, April 20, 2013

Yard Sale Score

So While I was waiting for the second coat of mud to dry on the bathroom wall, I skipped out to a couple of yard sales. Look at this cute shelf I got, what? You don't like the pink? Well me neither ...well not too much, but it was only one dollar! So I have mad painting skills and this will be a real gem pretty soon.

 Now lookie here! Look at these adorable stools. Aren't they awesome! Yes they need a little DIY action, but they are gorgeous!


I think a little gorilla glue will fix this baby right up! I just love the style and design of both of these stools, I don't know if I'll be able to find a screw to fit the white one, but I'll try.
And I made Hubs some new potholders too. I really need to get rid of some of these scraps so....


now we have some nice new potholders and a few less scraps.

Friday, March 4, 2011

Potholders Again!

See this cute Cat fabric!! Love IT!

So I whipped up a few potholders out of this fabric, just like the ones I made for DD not long ago.

Tuesday, January 18, 2011

Magic Potholders

DD wanted matching potholders. I told her Peg at my favorite quilt shop Common Threads Quilt Shoppe     had these really cute potholders for their Christmas quick gifts dealio a while back and I could make them for her.

 So she picked two fabrics and I went to town!
 Really though? Who needs 10 potholder? And I wish I could make a potholder to cover the
poor girl's eyebrows!!LOL she has a few issues cooking sometimes.
They really are like magic and soooo fast to make. It takes longer to cut the fabrics than it does
to sew them up!
 This one was the last one, I had some scraps left and they were just a little shy of the 9" size
so I just faked it! Pretty cute with a little square peeking through!
The idea is to layer in this order:
8or9 inch square right side DOWN
1 or 2 layers of batting-I used one of cotton batting (warm & natural)
& 1 of insul-brite
8 or 9 inch square right side UP
4 8 or 9 inch squares, folded in half &  pressed and woven
over each other-raw edges to the outside edge
Sew the around the edge of the whole bunch together about 
a 1/4" seam allowance, pinning as needed
Trim the edges close to the stitching
Turn the whole pile right side out and TA DA!!! giver it a little press and
top stitch around the edge-I went about 1" from the edge.
For circles use 10 or 10 1/2" circles-same process.

Friday, January 14, 2011

baby quilt & Potholders


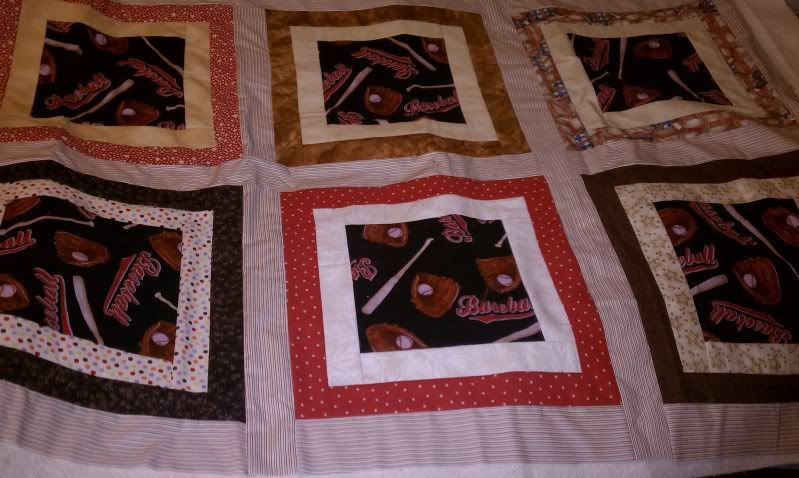
Now all I gotta do is get it stuck together and quilt it.
And make the DD about 10 more of these........
only not with squares on them. Sure I can do that!